User Groups allows you to group permissions and apply across individual users with shared characteristics.
Commonly created User Groups:
- Customer Service
- Customer Service Manager
- Affiliate Network
How to Add a User Group
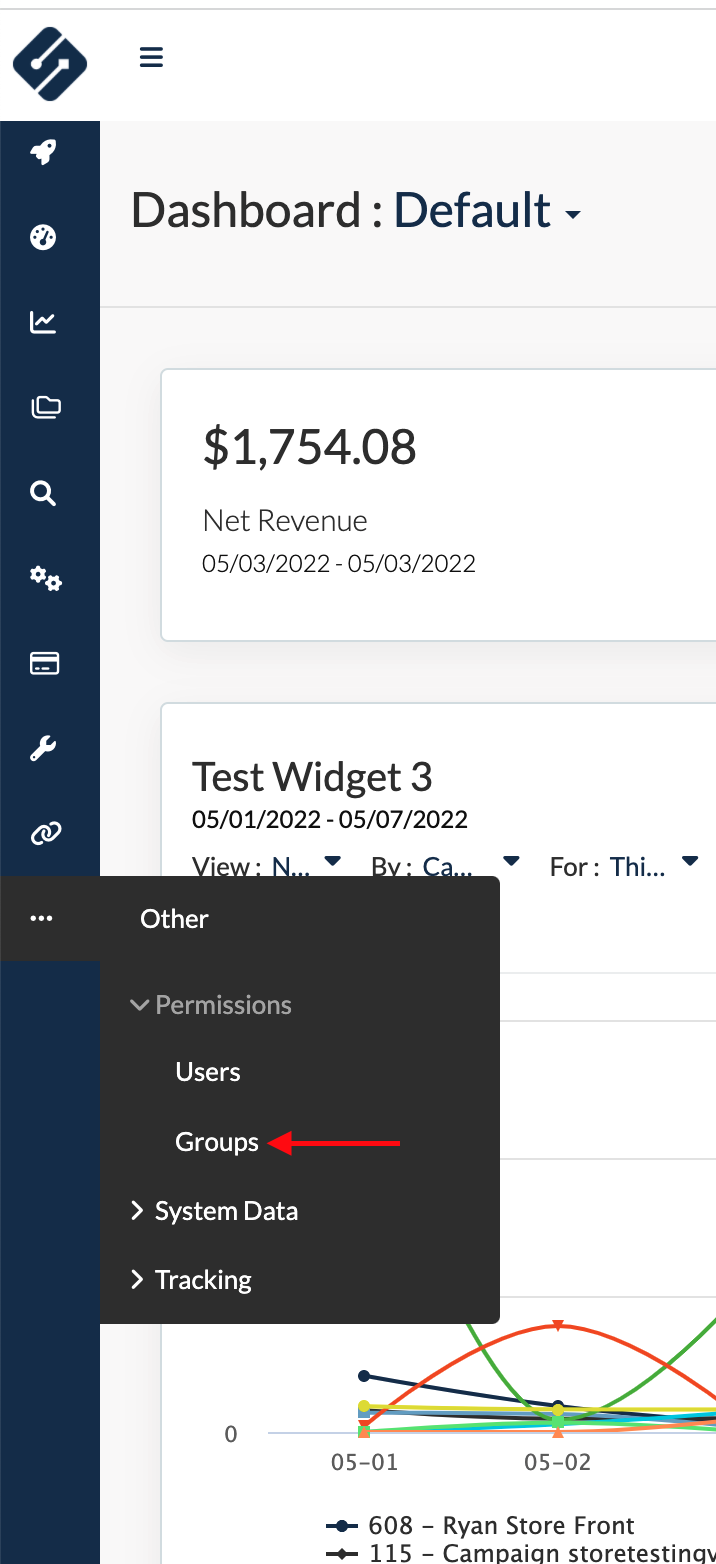
- In the Home Menu hover over Other
- Drop-down the Permissions menu
- Click User Group then + Add New or click on the User Group you would like to edit
- Enter Group details
(click to expand)
| Access Level | Definition |
|---|---|
| No Access | Users will have no access to any of these objects or the ability to view any of the objects. |
| Read Only |
Users can see these items only. If user restrictions are added to any of the objects, then the user can only see the objects that have been assigned to them. Caution: If a user only has read access to reports and two specific reports are selected within their Reports Permissions, they will only be able to see those two reports. |
| Create / Edit | The user can add new and edit those that they have added. |
| Full Access | The user can create new and edit existing, including deleting and editing anything that anyone else created. |
| Request Access | Refunds or store credit submit as are pending until processed by user with permissions to process |
| Process Access | Refund or store credit applies at the time |
Group Details:
- Name of Group: This will display as a Group option within the Individual User Permissions
- Description: This is for internal use in order to clarify the group or permission details
Note for Checks: User must have full access to Transactions to process checks
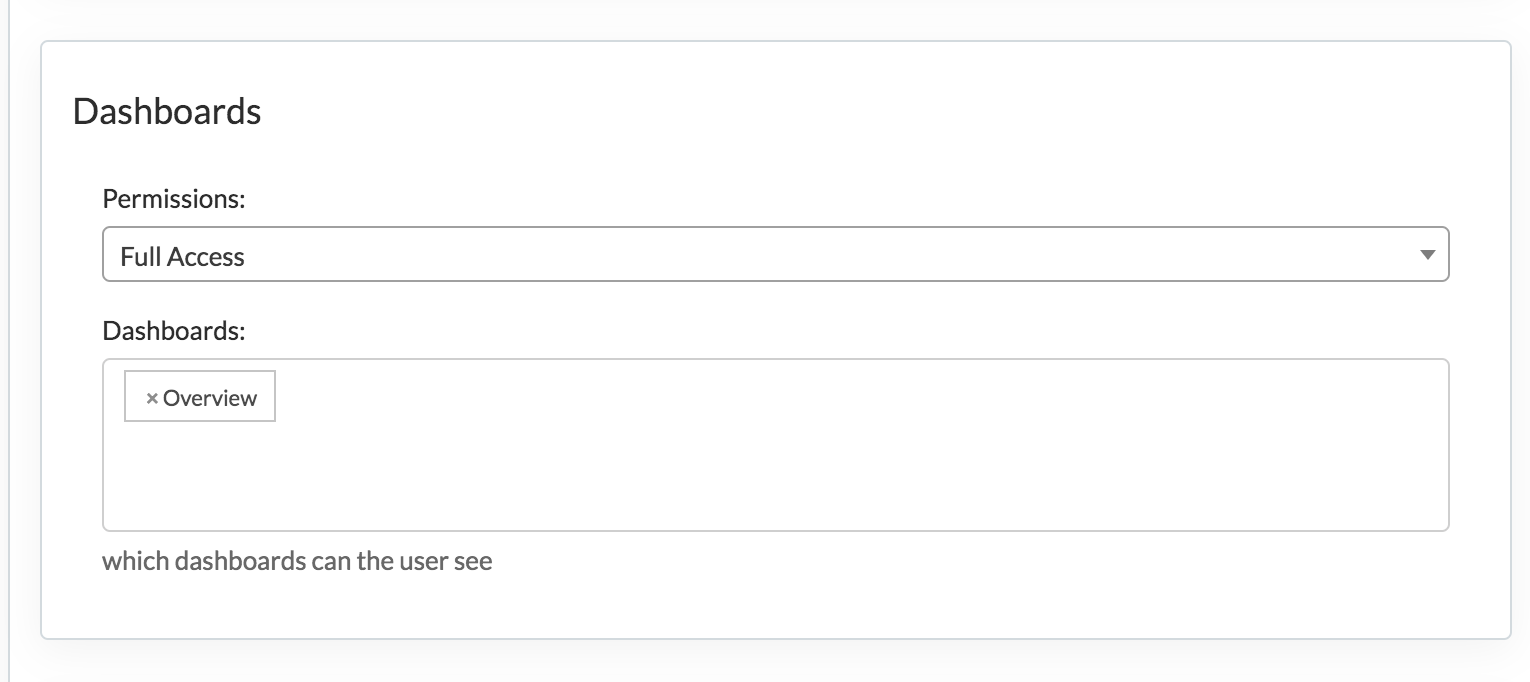
Additional Permissions: Additional limits can be set so that this Group only has access to specific Groups, Teams, Dashboards, Reports and Connections. In the below screenshot, this user will have Full Access to the "Overview" Dashboard and all other Dashboards will be hidden.
View As:
If you are unsure as to how Employee A's permission will display on the platform, make sure your profile has the Employee A's group selected under the "View As" section, and you will then be able to toggle between group permissions using the drop-down under your name in the top right-hand corner of your window.
If you are the administrator, you will want to set your own user profile to have "View As" permission for all your groups so that you can check what your colleagues and partners are able to see with the permissions you have set.