Setting up payment processing gives you control to manage your merchant accounts.
Use this guide to find more information on how you should set up your merchants, routers, dunning, and anything related to payment processing.
|
|
|
In this Article
|
|
|
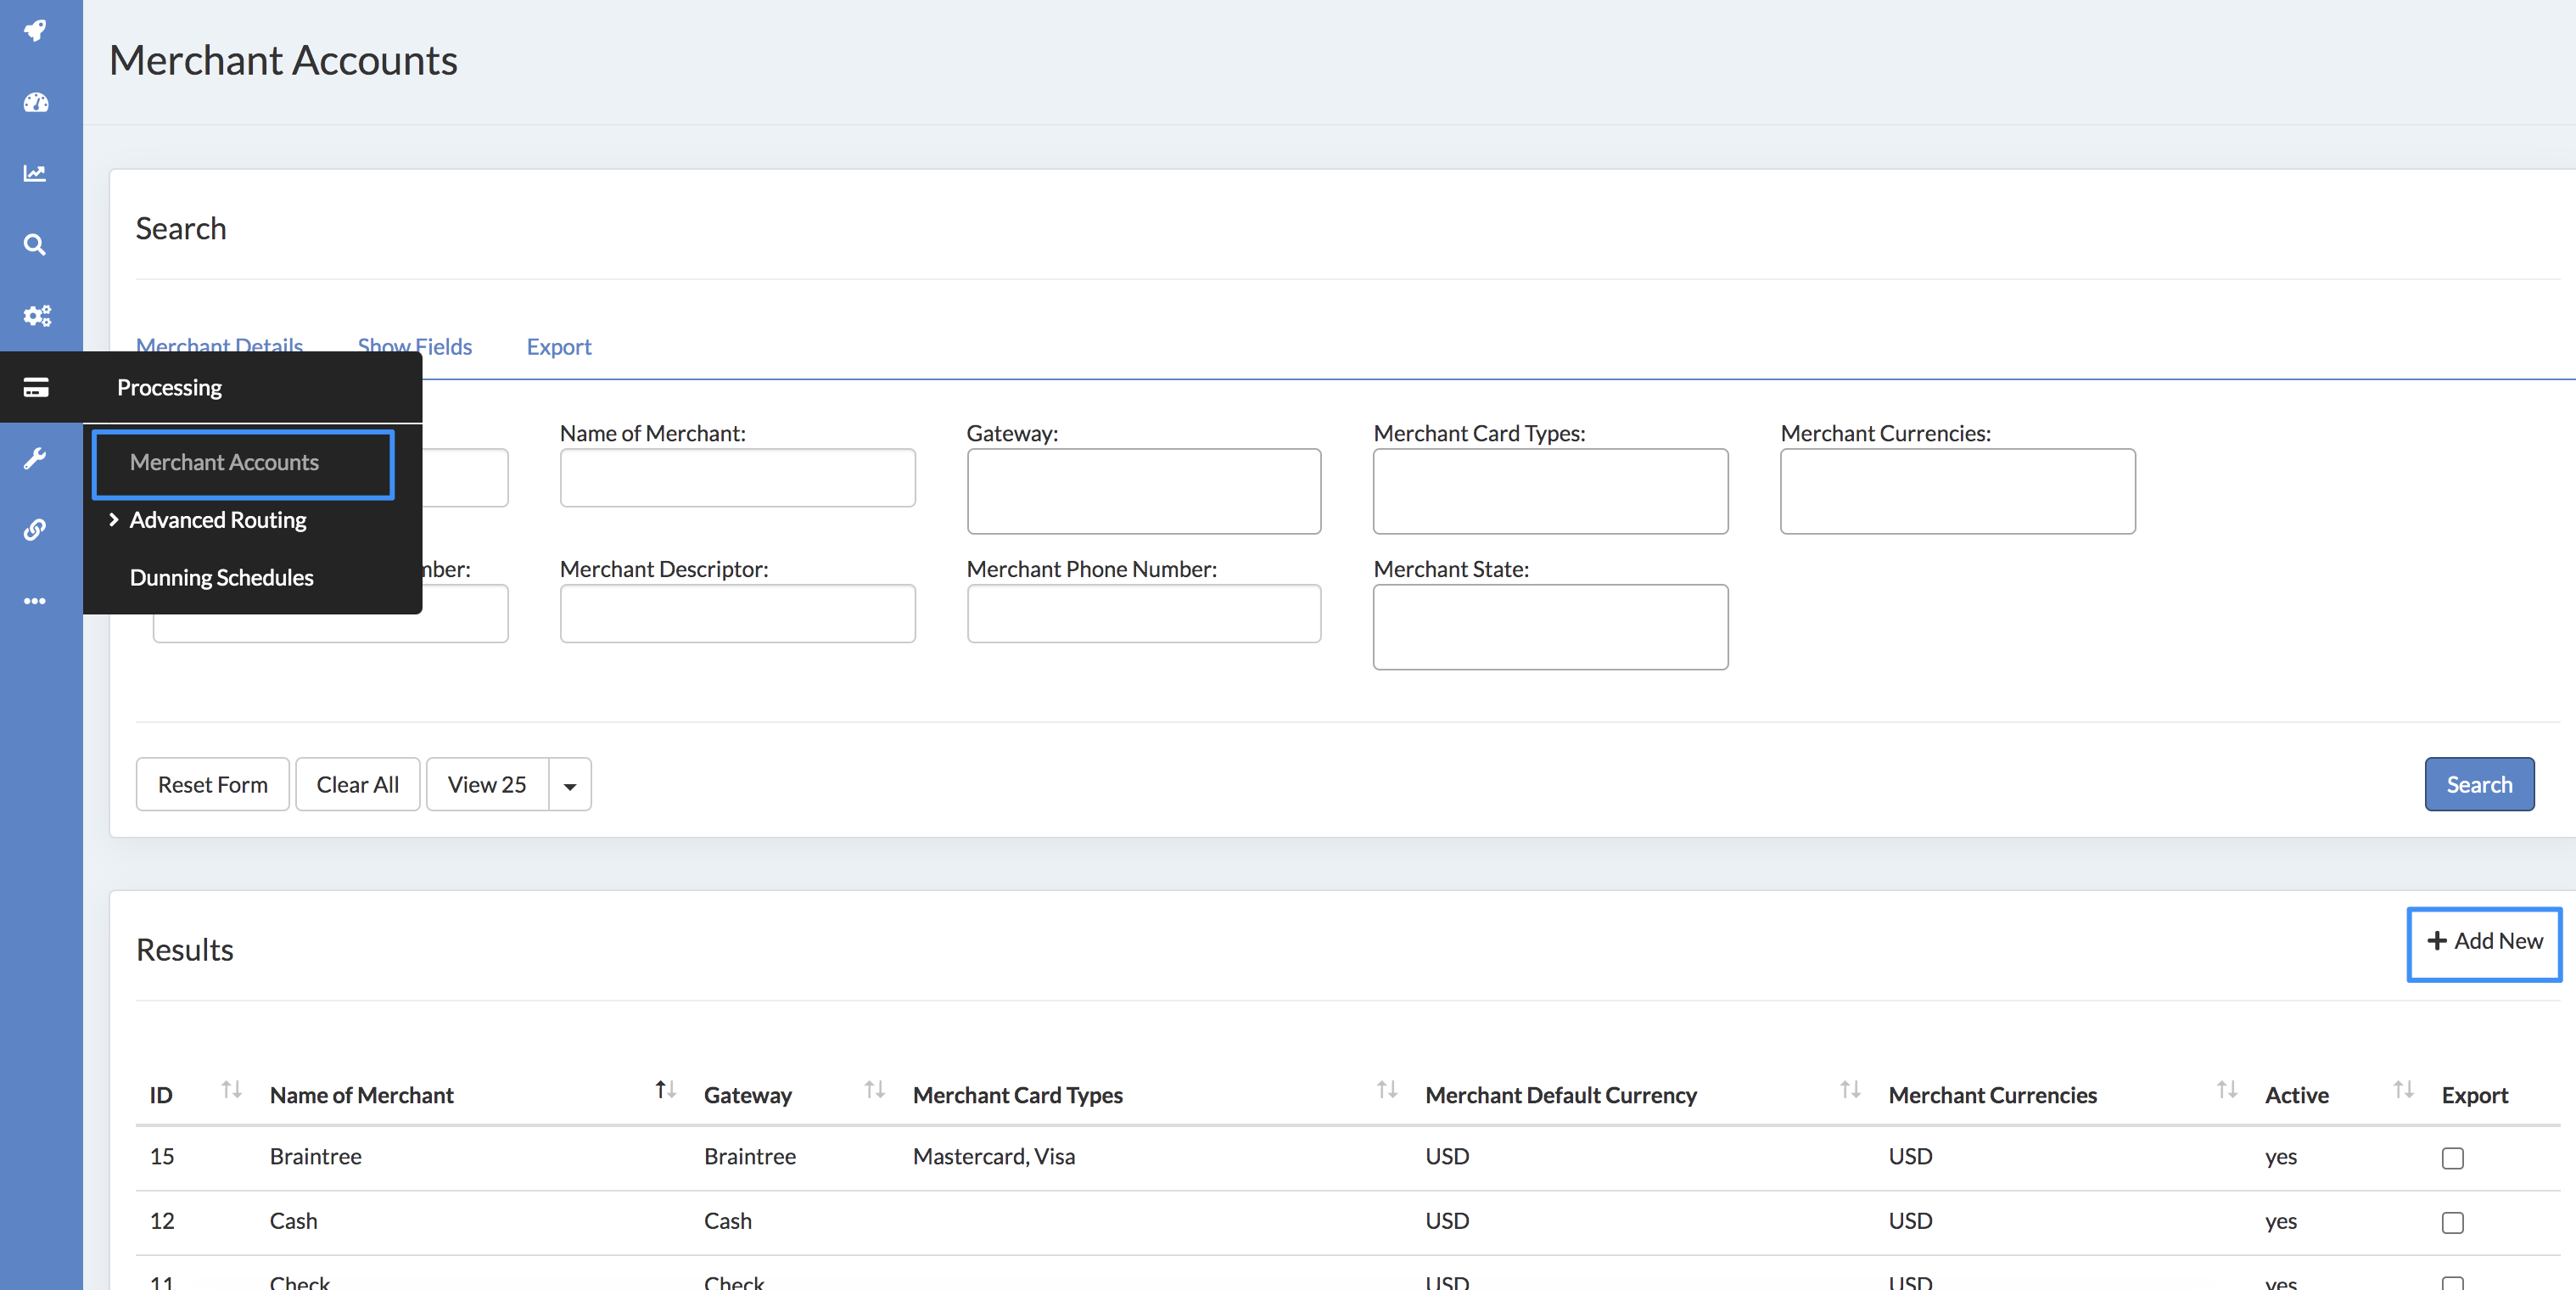
Adding and managing Merchant Accounts
How to Add a Merchant Account
- In the Home Menu hover over Processing
- Click Merchant Accounts then + Add New or click on the Merchant you would like to edit
- Enter your Merchant details
(click to expand)
Here you can manage, edit or add new merchant accounts.
- Name of Merchant
- Internal Merchant name for you to easily identify your merchants
- Gateway
- Select the Gateway specific to this Merchant. Find detailed Gateway information here.
- Merchant Payment Methods
- Payment methods available for this Merchant
- Merchant Currency &
- Default Currency
- Add all currencies allowed and select what you would like to use as the default currency
Use Additional Merchant Details to further specify your Merchant. You can enter
- Merchant ID
- Descriptor
- Phone Number
- URLs
- MCC Code etc. These are not required within Sublytics but may be required with your partners. These fields can also be useful within reporting and when using merge tags in order to group all merchants with the same processor or MCC code.
- Processing Limit
- Set a maximum processing amount per month to allow. Check the Enforce Processing Limit box if you would like Sublytics to not allow any more attempts after limit is met
- Deactivate Reason Codes
- Add reason codes that will deactivate the Merchant. Make sure to set users who will be alerted if merchant is deactivated.
- Merchant State and Tax
- Set State level tax rates to apply if shipping address is in the same State as the Merchant.
Use Third Party Integrations to connect to a 3DS provider or external dunning source. More info here.
Fees will allow you to set individual amounts per Processing Rates, Alerts, Gateway elements and more. The more you are able to add, the more you can manipulate within reporting.
- Portal Information
- Use these fields to link your Portal account to Sublytics
Once your Merchant Accounts have been set up, you can easily duplicate the setup under the Options menu in the top right corner of your Merchant Details.
|
|
|
Advanced Processing Settings
If your business utilizes multiple Merchants or has complex payment settings, you may want to take advantage of our advanced processing settings. These settings include Merchant groups and advanced Payment Routing, including routing by Item.
Merchant Groups
Merchant Groups will allow you to group specific merchant accounts together.
How to Add a Merchant Group
- In the Home Menu hover over Processing
- Expand Advanced Routing then Merchant Groups
- Select + Add New or click on the Group you would like to edit
- Enter your Merchant Group details
Within the Merchant Group you can enable Gateway Pairing. Gateway Pairing, when enabled, will force pairing of the Merchants in group on Subsequent Transactions (if multiple, paired router settings will be applied to the paired merchant)
Example: Merchant Group 1 has Mid A, Mid B and Mid C. Gateway Pairing is enabled. When a customer comes in and has product A on Mid A, Product B will go on Mid B. If Mid B and Mid C is not available, the subsequent charge will then look at the Fall Back Type.
Fallback Type ; if paired merchant is not available, set your fallback type.
- Decline Sale - subsequent transaction will decline
- Use Router Setting - subsequent transaction will look to the Payment Router setting for charge
Payment Routing
A Payment Router is used when multiple Merchant Accounts can be used for the same offer. A Payment Router is setup to determine which transaction is assigned to which Merchant Account based on the criteria setup within the Payment Router. More on Payment Routing here.