Gain insights into your profitability by including costs across all of your revenue reports in Sublytics.
Get started by adding in your costs:
- Bulk Add
- Cost Setup within Sublytics Configuration
- Cost of Goods
- Merchant Fees
- Marketing Costs
These will reflect as the Cost of Goods Sold on reports. This metric combines with your Processing Fees, Ad Spend and Fees (Chargeback, Processing and Alert) to create the total Cost of Revenue, in order to calculate your profit margin. These metrics are specifically highlighted on the CLV, Sales & Subscriptions report.
Once the COGs have been added to the Item, you will begin to see this data pulled into your reports immediately. To confirm that this has been updated correctly, navigate to the Analytics > Finance > Sales report and set the View By filter to: Item. Then select the the Net Revenue, Cost of Revenue and Profit metrics from the Custom Metrics dropdown field to ensure that they are populating correctly.
Bulk Add Costs
Make bulk updates to costs through importing the cost elements. All pages have an Export and Bulk Update button on the top right corner:
(click to expand)
Cost of Goods
- Cost of Goods is located on the Item. Navigate to the Store Setup -> Inventory -> Item
- Export the records
- Add the cost for each SKU in columns AB to AH
- Select Bulk Update on the Merchant page
- Attach the CSV and hit Submit
Merchant Fees
- Merchant Fees are located on the Merchant. Navigate to Processing -> Merchant
- Export the records
- Add the cost for each fee
- Select Bulk Update on the Merchant page
- Attach the CSV and hit Submit
Marketing Costs
- CPAs are associated with the Campaign. Navigate to Store Setup -> Campaign (or go to domain.sublytics.com/campaign)
- Export the records
- Add the CPA for each campaign
- Select Bulk Update on the Campaign Page
- Attach the CSV and hit Submit.
Want even more granular CPA data by specific Offer? See here.
Adding Cost During Configuration
Cost of Goods is located on the Item.
New Item setup - Using the Item Wizard during setup of the Item apply the Cost associated for that Item
(click to expand)
Existing Item - Cost is setup under Item Details
(click to expand)
Item Option Costs
If your item has option variants with unique costs, you will need to add the cost at the Item Options tab. If there is no cost assigned to the unique Option level SKU, then the cost will default to the Item.
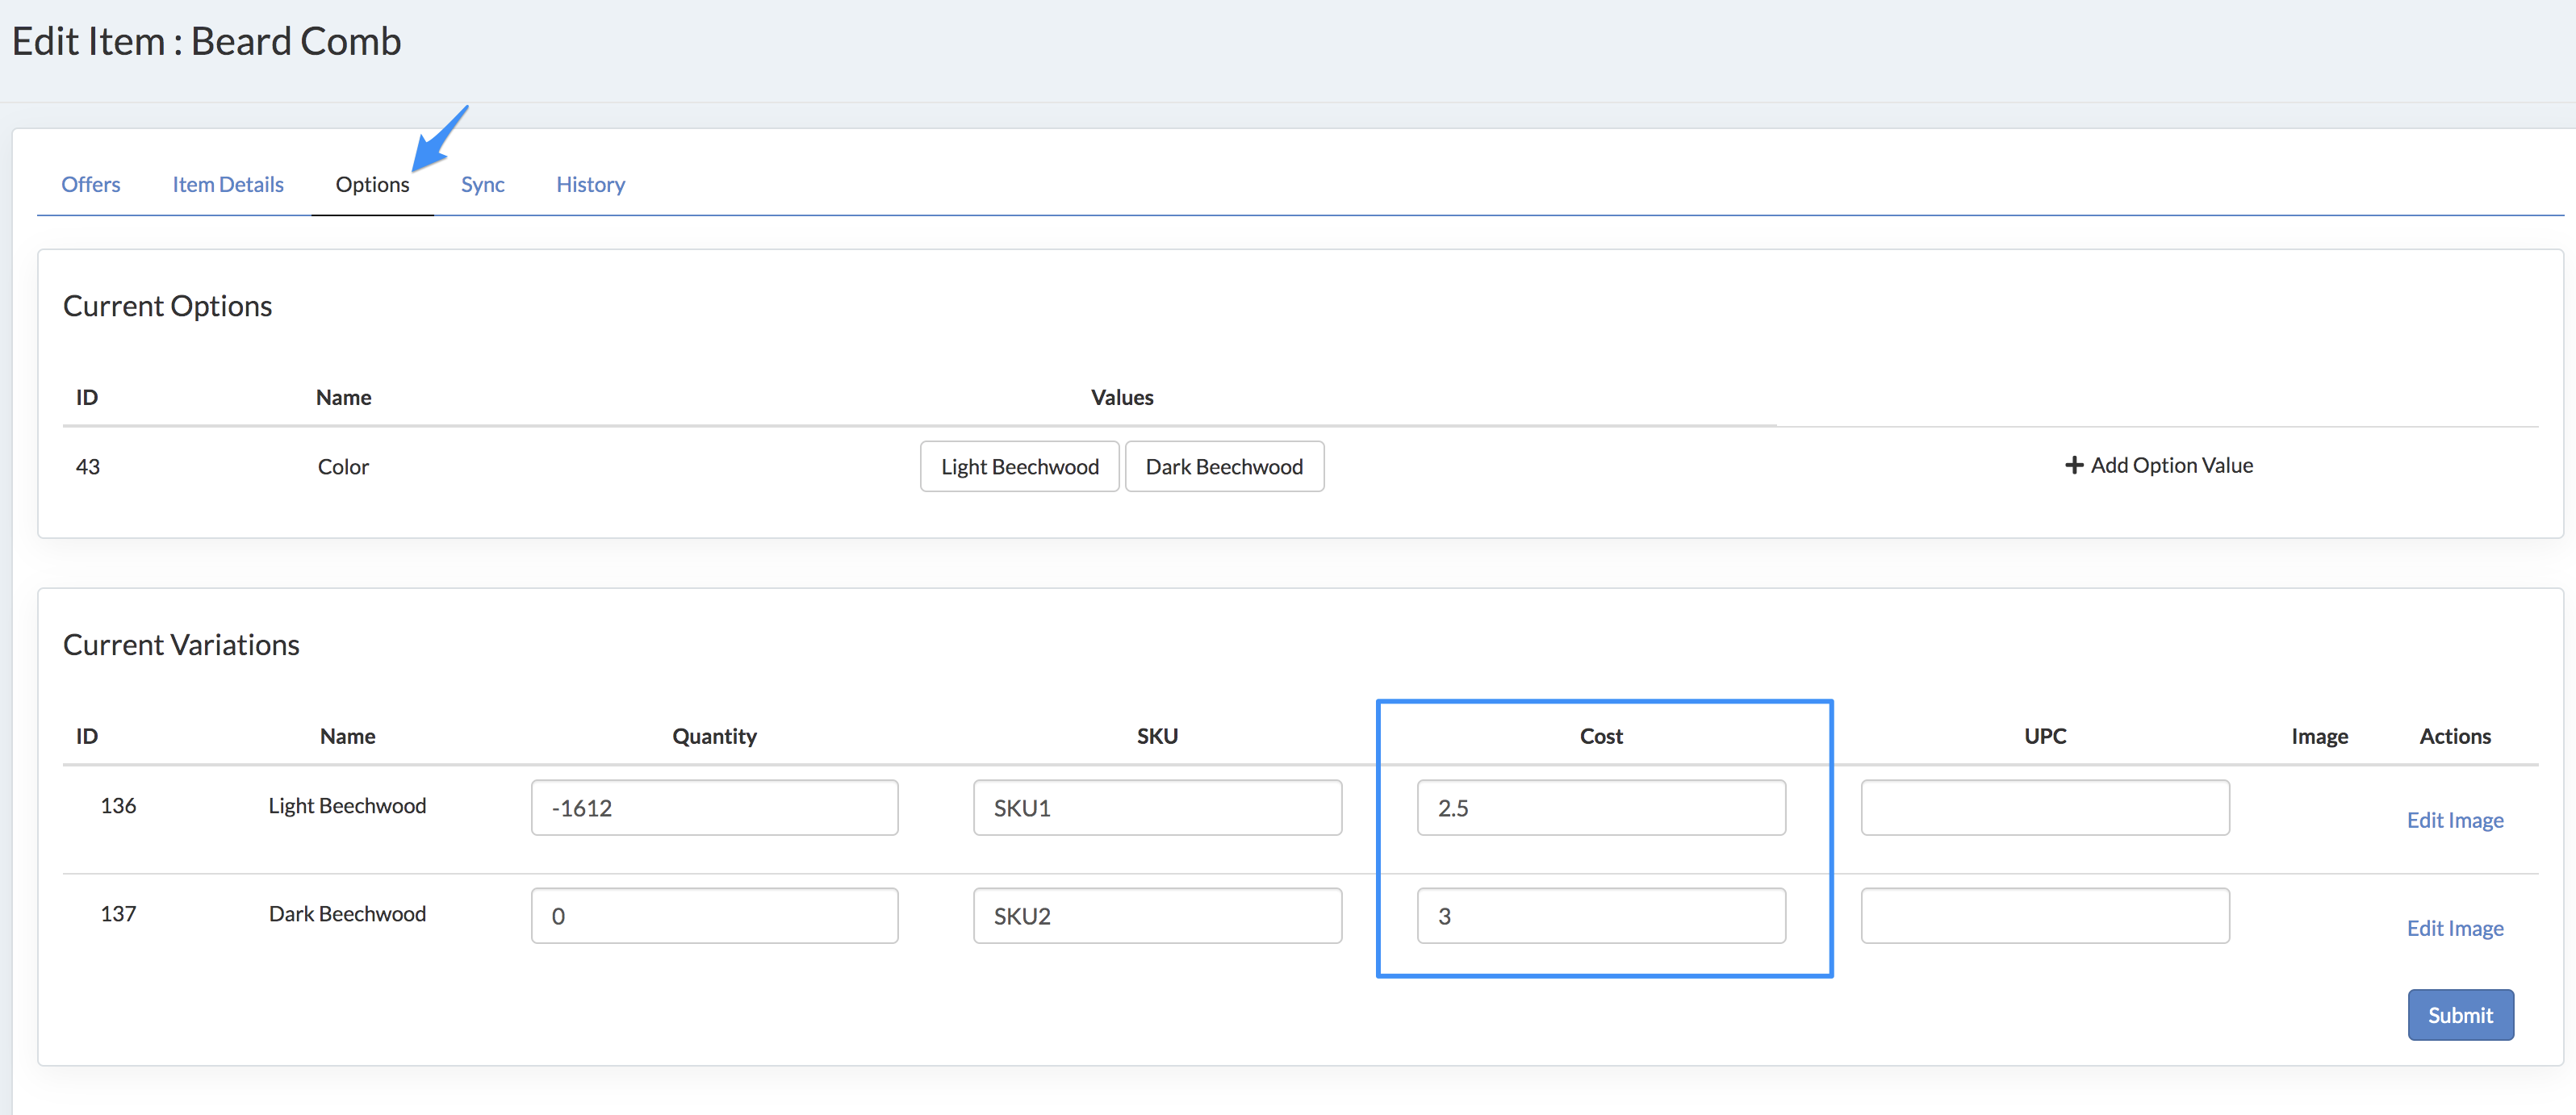
(click to expand)
Merchant Fees is located on the Merchant.
Navigate to the Merchant Page to manually enter the Merchant Fees. There is an optional tab called Fees where any merchant fee can be added:
- Processing Rate
- Chargeback Fee
- Alert Fee
- Gateway Sale, Refund, Void & Decline Fee
(click to expand)