This article will walk through how to quickly set up a campaign from start to finish. Within each step, there is a more detailed article to outlining all functionality.
To create an order you will send two values on the API call: offer_id and campaign_id
NOTE
You can reuse the same offers across multiple campaigns
To minimize the amount of steps required to set up a Campaign, you will want to add items in this order, so as you move from one item to the next, the drop-down selectors contain the items needed:
Steps to Launch a New Campaign:
- Add Connections
- Setup Processing
- Create Default Profiles
- Create Items
- Add Item (Single SKU)
- Add Item Bundle (Multiple SKUs)
- Add Offers
- Add Campaign
- Adjust Company Profile Settings
Connections
A connection is any third party system that needs to connect into the platform. Connections include Gateway, Fulfillment, Chargeback, etc.
To add a new Connection
Select Other → Connection → +Add New
More on Connections here.
Don't see the Connection you are looking for? Email support@vrio.com to add a new integration.
Processing
To collect payment, a Merchant Account must be setup. There are additional advanced processing options, depending on your payment needs: Merchant Groups & Payment Routes. The Payment Route allows for flexibility and customized options for specific handling.
1. Merchant Accounts
Merchant Accounts are the single merchants, connected into the gateway to process transactions.
To add a new Merchant Account
Select Processing ⇾ Merchant Account ⇾ +Add New
More details on Merchant Accounts here.
2. Merchant Groups
Merchant Groups are groups consisting of multiple Merchant Accounts to ensure proper processing routing. When Merchant Groups are created, this ensures that Merchant Accounts that should be paired are grouped properly.
Once the Merchant Group is created, select individual Merchant Accounts to use within the group.
To add a new Merchant Group
Select Processing ⇾ Merchant Group ⇾ +Add New
More details on Merchant Groups here.
3. Payment Routes
Payment Routes are used on the Campaign level to determine which Merchant Account to use for each individual initial transaction. Payment Routes consist of multiple Merchant Accounts.
Within a Payment Route, the user can select the ITR Type (Initial Transaction Routing).
The user is able to set priorities and order caps within each Payment Route.
To add a new Payment Route
Select Processing ⇾ Payment Route ⇾ +Add New
More details on Payment Routes here.
Setting up Default Profiles
Profiles can be created one time and used across varying Campaign & Offer setups. Profiles consist of Dunning, Shipping Profiles, Return Profiles, Responders, Tax Profiles & Bin Profiles
1. Dunning
Dunning schedules are created to reattempt declined transactions on a set timeframe. There is no max amount of attempts. The user can create multiple profiles to report on best combination.
To add a new Dunning Schedule
Select Processing → Dunning Schedule → +Add New
A Dunning schedule can also apply a discount on specific attempts, set a max discount as well as set that discount as sticky, so all future subscriptions are billed on the discount.
Within the Dunning Profile apply Stop Codes, which would cancel the Dunning process if specific decline codes are returned.
Dunning can be set to trigger "x Days since Previous Charge" or on a custom Timeframe, such as "Next Friday"
More details on Dunning here.
2. Shipping Profiles
Shipping Profiles are created to set rules on what to charge for Shipping fees. Shipping can be configured based on Item Weight or Cart Value.
Shipping lives on the Campaign.
To add a new Shipping Profile
Select Fulfillment → Shipping Profile → +Add New
More details on Shipping here.
3. Return Profiles
Return Profiles are created to set rules on when to allow a return to initiate a refund or not. Within the Return Profiles the user can dictate rules based on Trials vs Post Trial returns as well as expiration periods within the RMA.
To add a new Return Profile
Select Fulfillment → Return Profile → +Add New
Once the timeframe is set, the user can set the actions to be taken when an RMA is present, or when a return occurs with no RMA.
The Is Trial Flag within the Return Profile will look at the cycle within the offer to determine if it is a trial return.
More details on Return Profiles here.
4. Responders
Responders are used to communicate directly with the end customer, through either SMS or Email.
- Only Transactional Responders are created within Sublytics
- Responders use HTML and merge tags to communicate unique customer data.
Once a responder has been created, the user may Preview and Duplicate the responder to quickly change content for other communication types.
To add a new Responder
Select Automation → Responders → +Add New
More details on Responders here.
5. Tax Profiles
Tax profiles are used when charging tax based on Country and State or Province. Taxes can be charged either through a Tax Connection or Tax Profile. If both are set, the Tax Connection will trump the Profile. Once the tax profile is created, it will be set on the Campaign level.
It is recommended to use a Tax Connection rather than configuring a Tax Profile
To add a new Tax Profile
Select Processing → Tax Profile → +Add New
6. BIN Profiles
BIN profiles are used to restrict certain BINs from being allowed, it will be set on the Campaign or Merchant level.
To add a new Bin Profile
Select Other → BIN Profiles → +Add New
More details on BIN Restrictions here.
Items and Item Bundles
An Item is a single SKU item.
Create an item(s), which is a single SKU item. Within the Item the user will select the Fulfillment Connection.
To add a new Item
Select Fulfillment → Item → +Add New
An Item Bundle contains multiple Items (or bundle). When creating an Item Bundle, the user will select the Items & quantity to be contained within the Bundle.
To add a new Item Bundle
Select Fulfillment → Item Bundle → +Add New
Offers
The Offer is where the majority of rule sets live. The offer consists of Offer Details and Offer Cycles. Follow the wizard on the Item page or navigate over to the Offer section to create new and manage Offers.
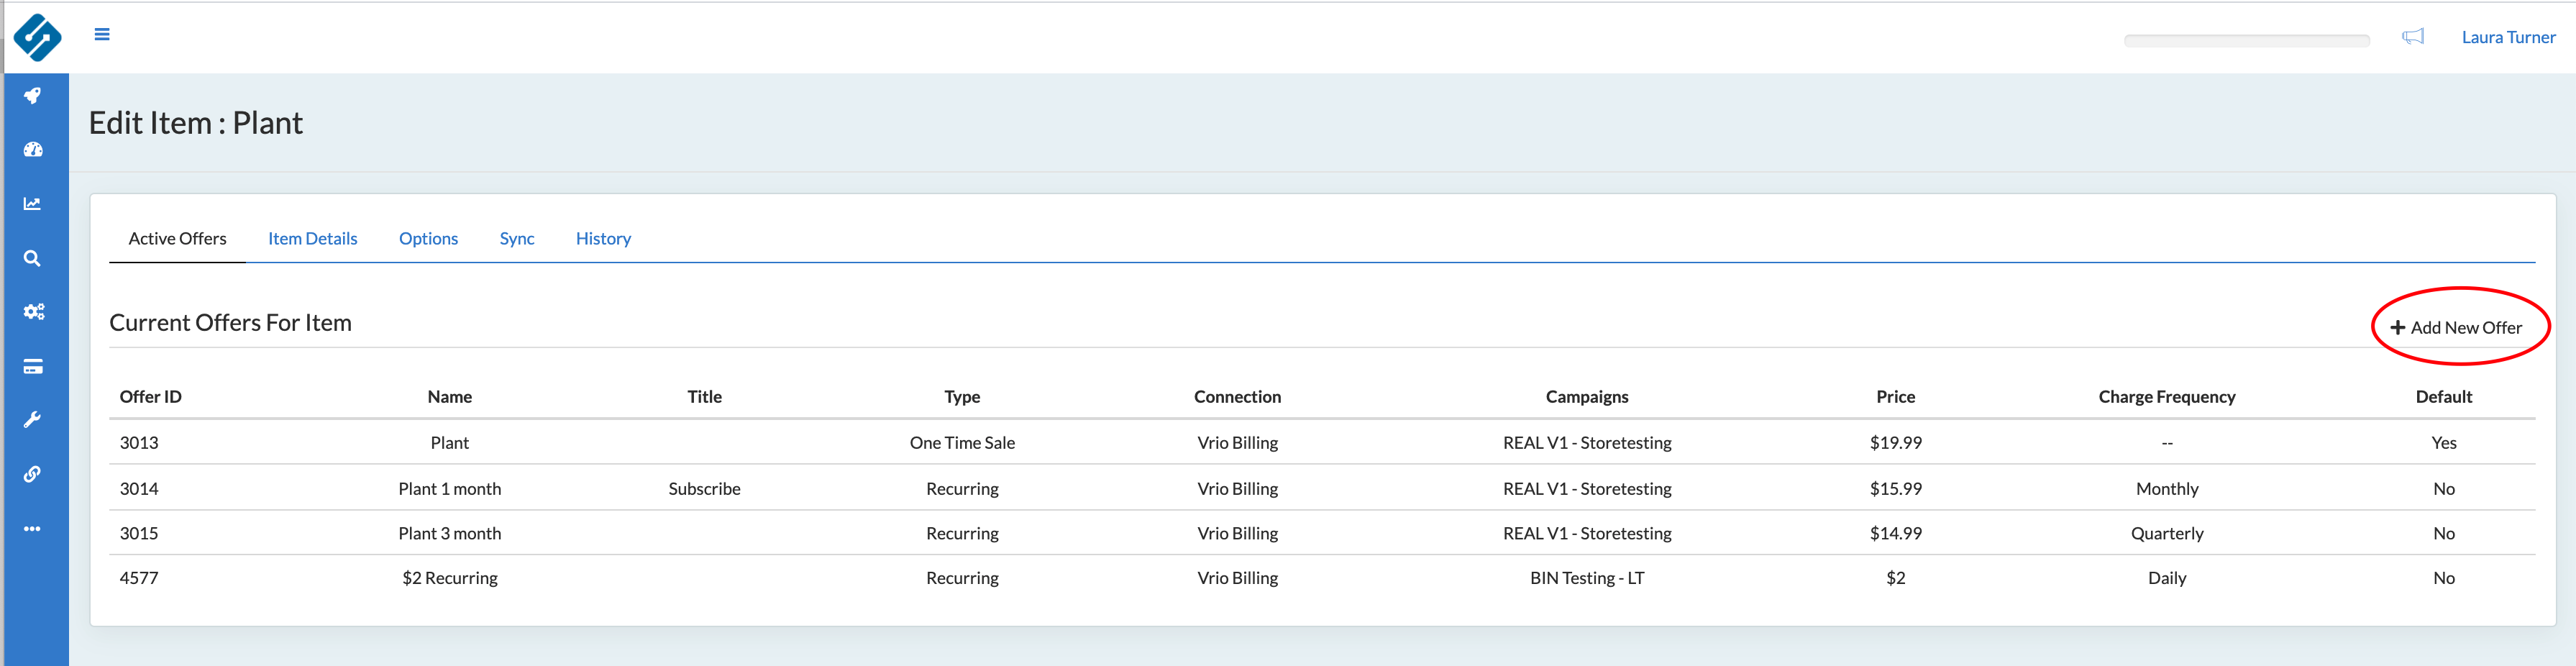
To add a new Offer within Items Wizard
Create your Item → Active Offers +Add New
From here, follow the prompts to create the rules for selling this Item
Checkout this video tutorial to see how to create your Item and Offers:
To add a new Offer from the Offers Page
Select Store Setup → Offer → +Add New
Offer Detail
The Detail is where the user will set:
- Offer Information
- Name
- Code: Internal Code that can be set as needed. Use case - specific reporting code
- Offer Type: One time or Recurring
- Description: What the offer entails. This can be pulled into the checkout to describe what the customer is purchasing
- Global
- Add any Images
- Responders
- Set any responders that should be communicated within the Campaign, Offer or Cycle level. This is the hierarchy in which a responder will be sent.
- Other
- Within each offer, Upsells can be tied in. See more on Upsells here.
Within an Offer, there can be multiple Cycles. A Cycle can have its own set of, based on the type of Program that is being offered.
If the Offer type is a One-Time offer, there will only be one cycle. A Cycle can have its own set of rules:
- Offer Details
- Product Type
- Select the Item or Product to be sent
- Sale Price
- Shipping - if a shipping cost is applicable to a specific Offer. Otherwise, Shipping Profile can be used for the entire cart. See more here.
- Discounts
- Quantity Discount Profile allows a single offer to be used for multiple quantities, even when a discount is applied for extra quantities. For example, if a customer selects QTY 1 the subtotal is $30 but if a customer purchases 3 the subtotal is $45, because a 50% discount is applied to QTY 3. There is no need to create a new offer for Qty 1 and Qty 3.
- Minimum
- Apply Multiple Discounts to Total - Should the discounts be applied to the initial balance or balance after each discount is applied.
- Recurring Details
- Final Cycle
- Cycle Length
- Charge Trigger
- Charge Time
- Is Trial - this is used for RMA rules
- Customer Service Options
- Allow Extra Days - after package is delivered, before the next cycle the agent can extend rebill date
- Max Extension
- Skippable - is this cycle skippable?
- Fulfillment Details
- Fulfillment Delays
- Multiple Shipments allows for Prepaid offers to schedule multiple Shipments. For Example: the Customer prepays for 6 months, and receives a shipment for 6 months every 30 days
- Return Profile
- Responders
- **Responders set on the Offer Cycle will overwrite any Campaign or Offer level Responders
- Other
- Transaction Postback URL
- Swap Offers
- Subscribe and Save
- Ongoing Offer Swap
- See More Here
- Offer HTML
- If VRIO is hosting the Checkout, place HTML here to be used. For Example, as a post-cart upsell, this is what will be displayed to the customer
In this example, this offer is set up to charge 14 days after the package is delivered at 7am for the first full bill, the following renewals will occur 30 days after the time of charge.
Various Responders are set within each Cycle.
Within the Offer Details, the user will set the Payment Route, Dunning Schedule, and addition Responders. Cycle Responders trump Offer Responders if two are set for the same action.
For example, if a Shipping Responder is set on the Cycle and on the Offer, the Cycle Responder will be used.
More details on Offers here.
Campaigns
Adding a Campaign is the final step in the configuration process. The Campaign contains:
- Offer combinations
- Payment Rules:
- Merchant or Router to use
- Bin Block Profile
- Shipping Profiles
- Fraud Connection
- Tax Connection
Limit Campaign Duplication
Use custom Tracking Variables for reporting metrics to limit the duplication of campaigns. Example - use permission levels by AFID for users instead of creating a new Campaign for every AFID
Responders can be set on the campaign level. Campaign level responders are overwritten by Offer and Offer Cycle Responders.
For Example, an Order Responder is set on the Campaign. A delivered Responder is set on the Campaign and Offer. The Order responder will come from the Campaign and the Delivered Responder will come from the offer, since Offer trumps Campaign.
Responder Hierarchy: Offer Cycle, Offer, Campaign. More on Responders here.
To add a new Campaign
Select Store Setup → Campaign → +Add New
Add Company Profile Settings
Once your campaign is set up and running, you will want to make sure your reporting shows the way you want in order to make quick optimizations. You can set the way your currency, tax and shipping amounts are shown within your revenue by adjusting the